design iterations - 3D printing production

Several pieces ... some of them printed with PLA and others with ninjaflex materials. ( instructions to print with flexible material are here)
We produced arm bands in different sizes to be used for kids and adults.
All pieces hold and protect the electronics, batteries, muscle sensors and the 9-DOF board.

assembled prototype:

Bride's March NYC 2014

Feeling very strongly about the domestic violence issues, and violence against women + LGBTQ community in our society, I was very proud to walk with hundreds of beautiful brides on September 26th, 2014,  from Manhattan to the Bronx, and to Harlem. We walked 7 miles. It was a nice day.  

Testing wearable designs and stage prototypes

Just like how our left hemisphere and right hemisphere work together, or a better example --  when two musicians performing a duet --- we want to see what happens when we are coordinating actions with others. 

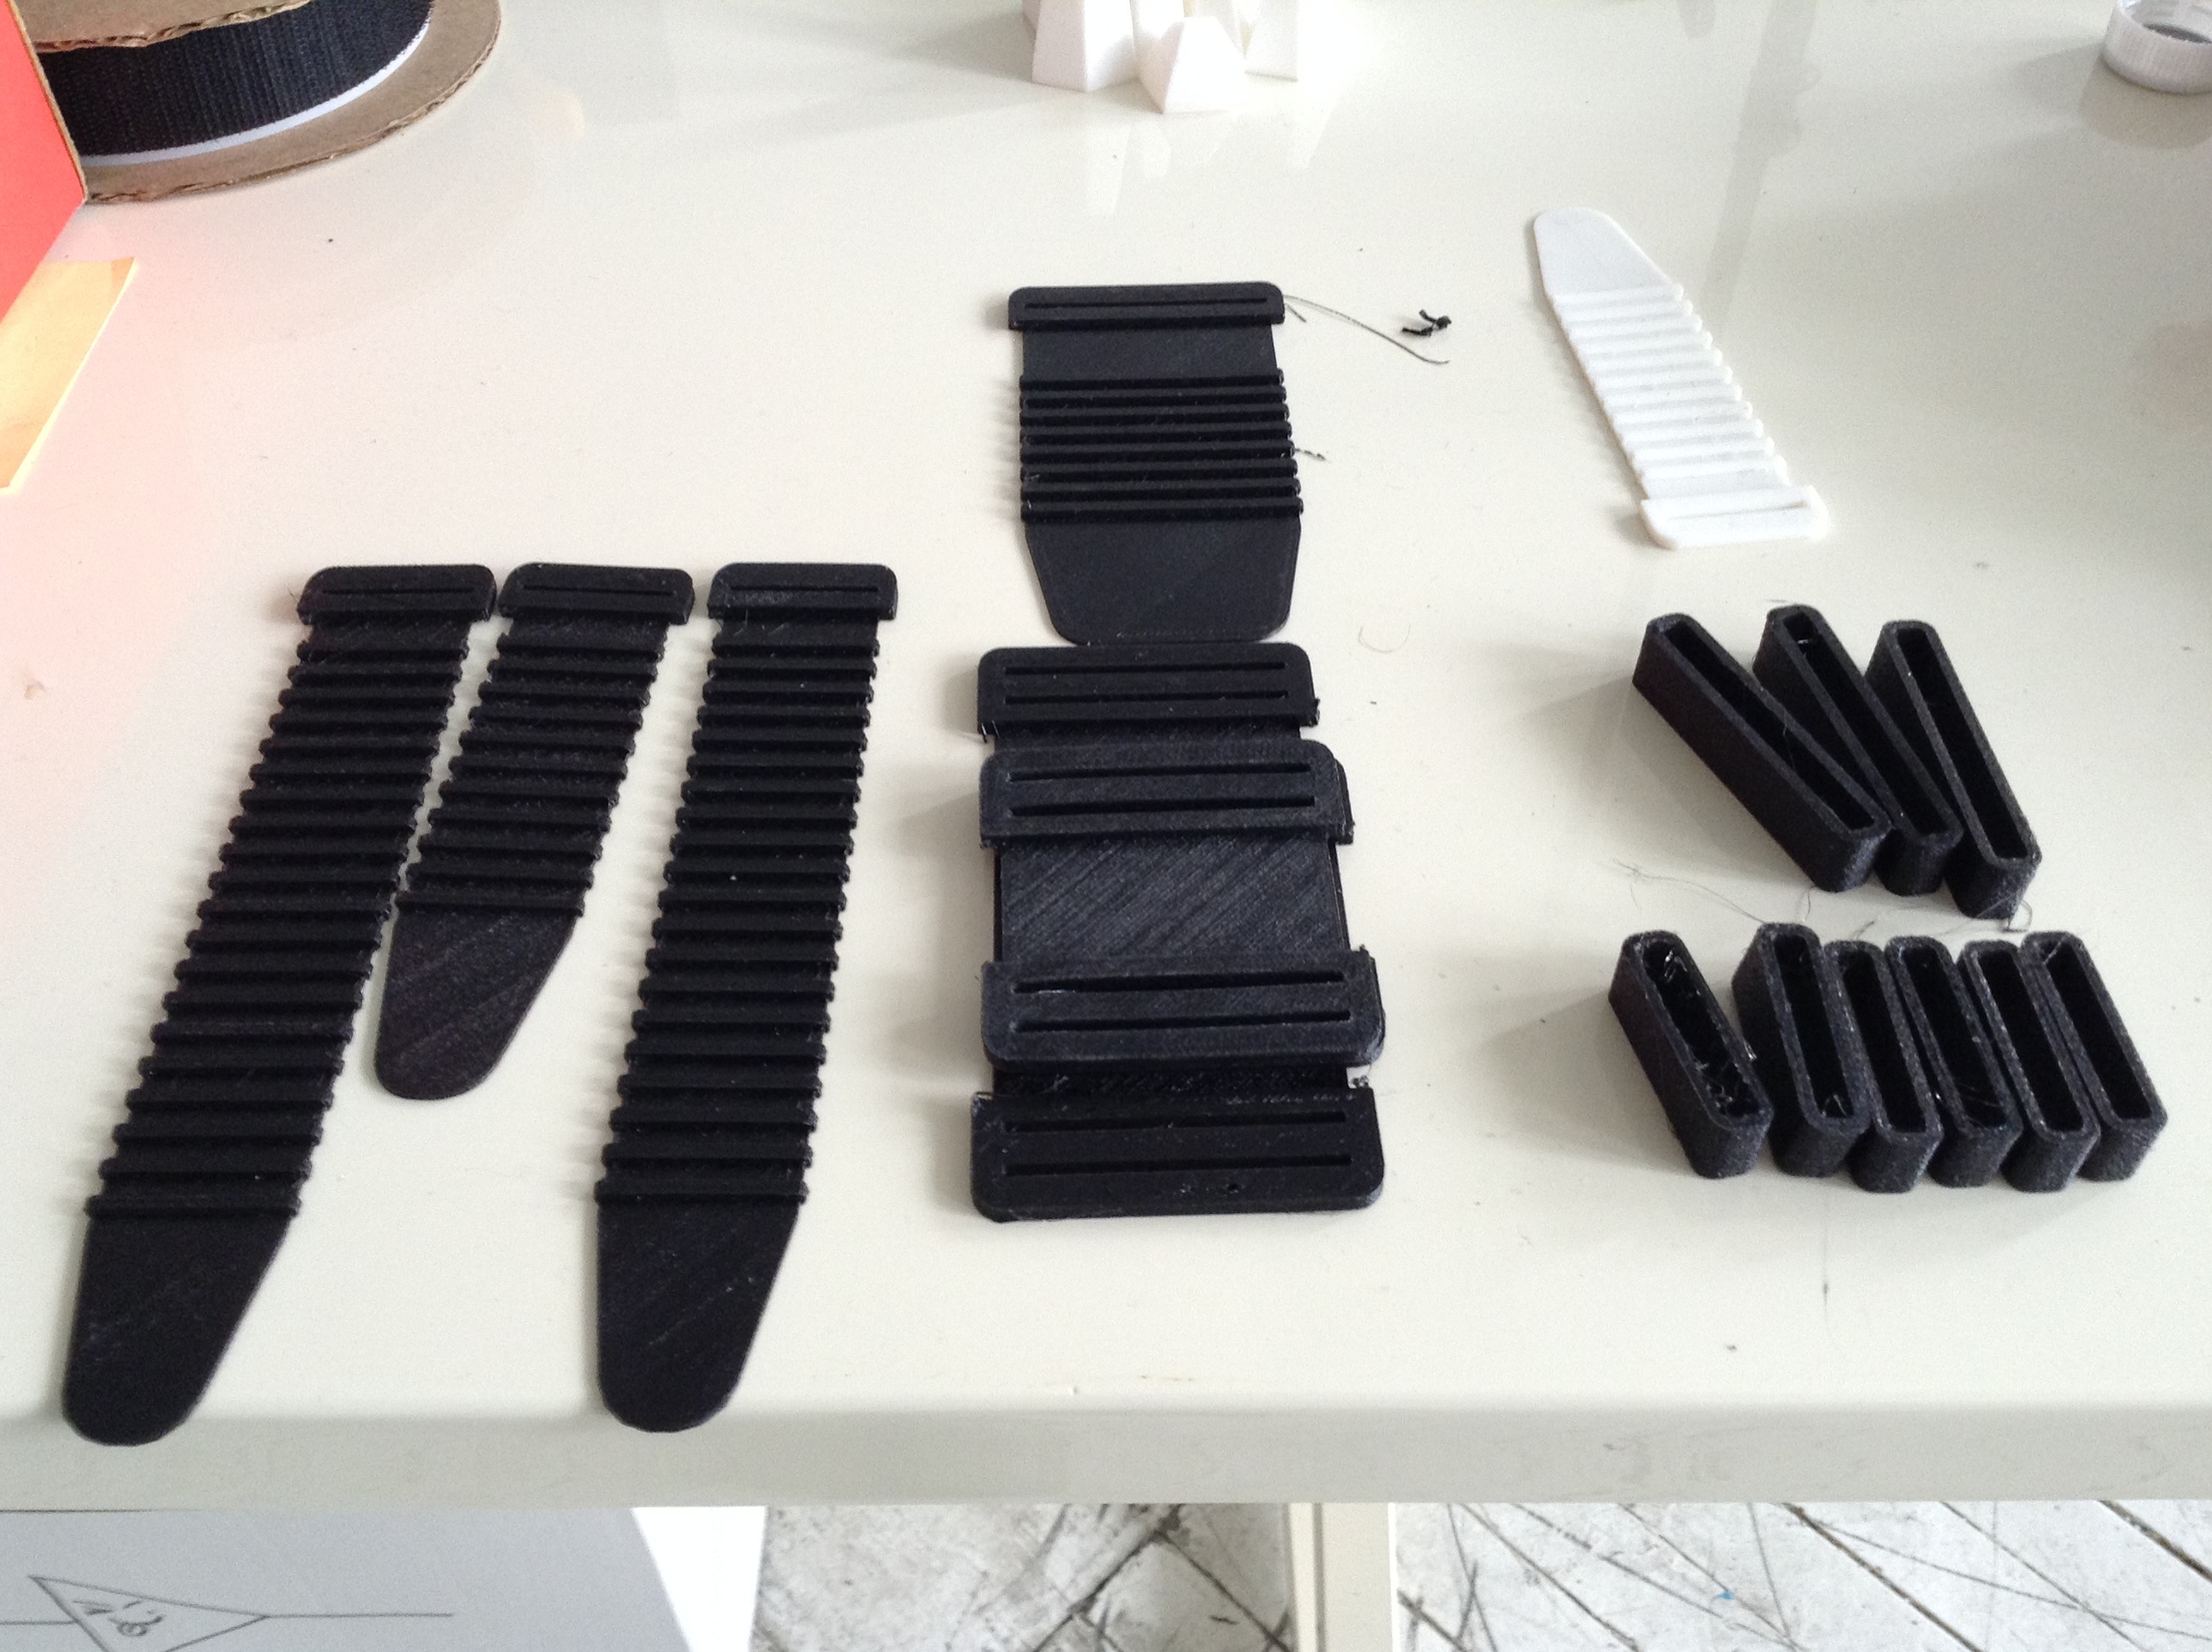
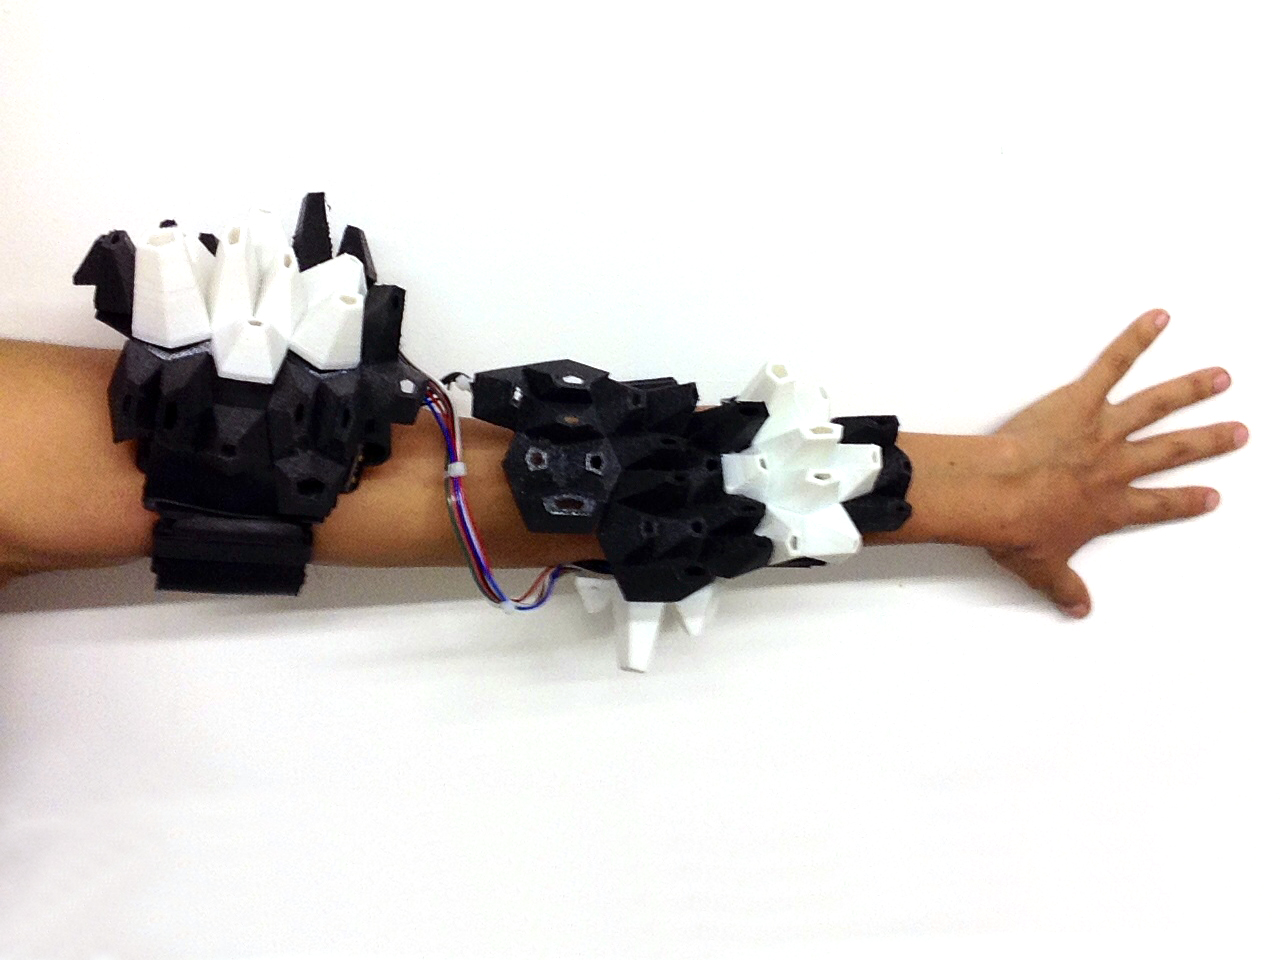
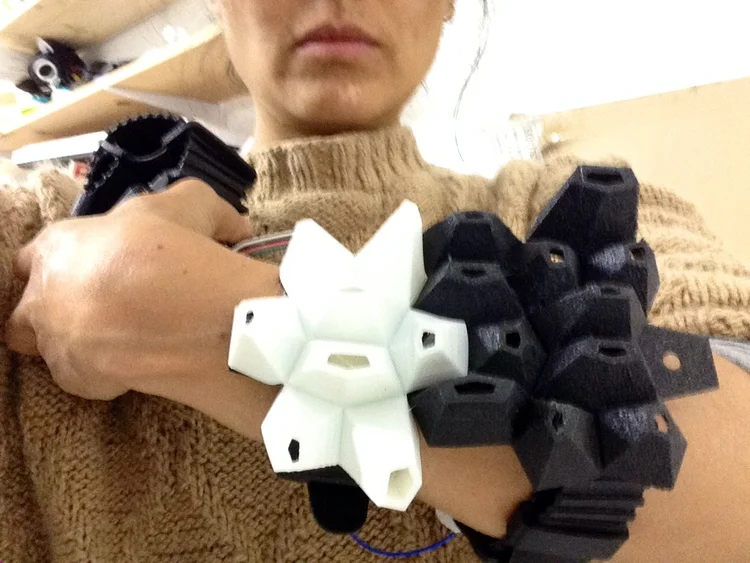
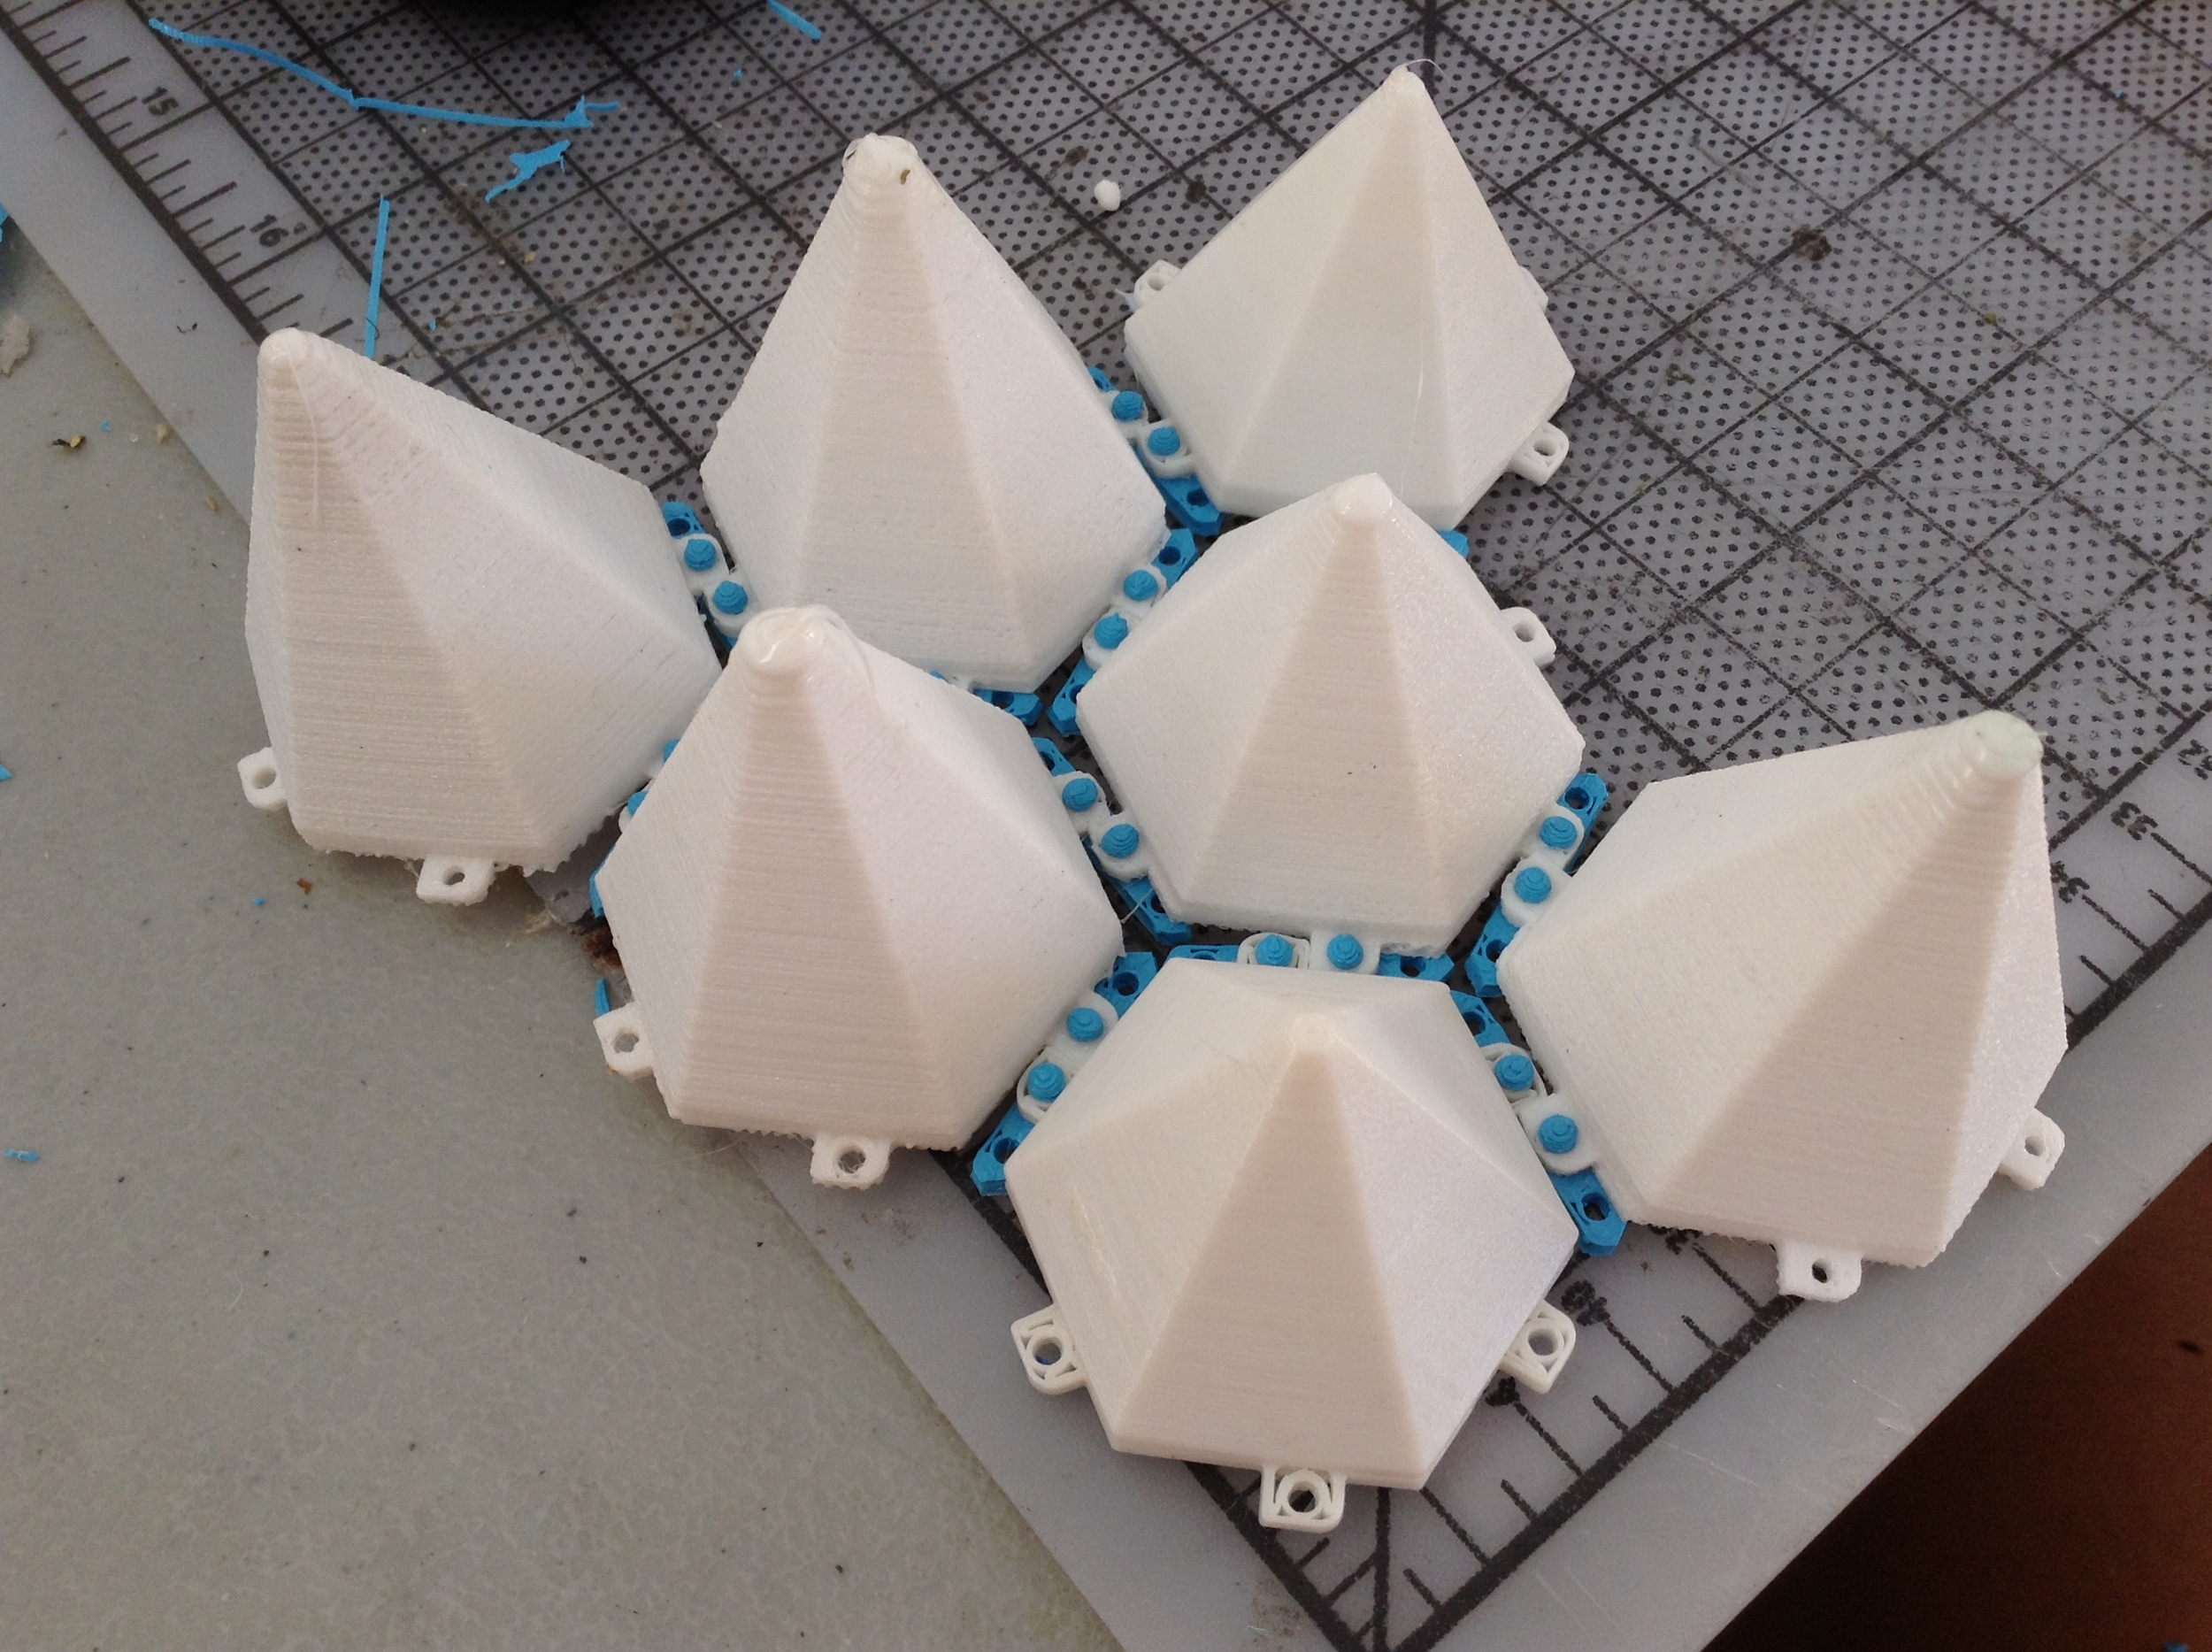
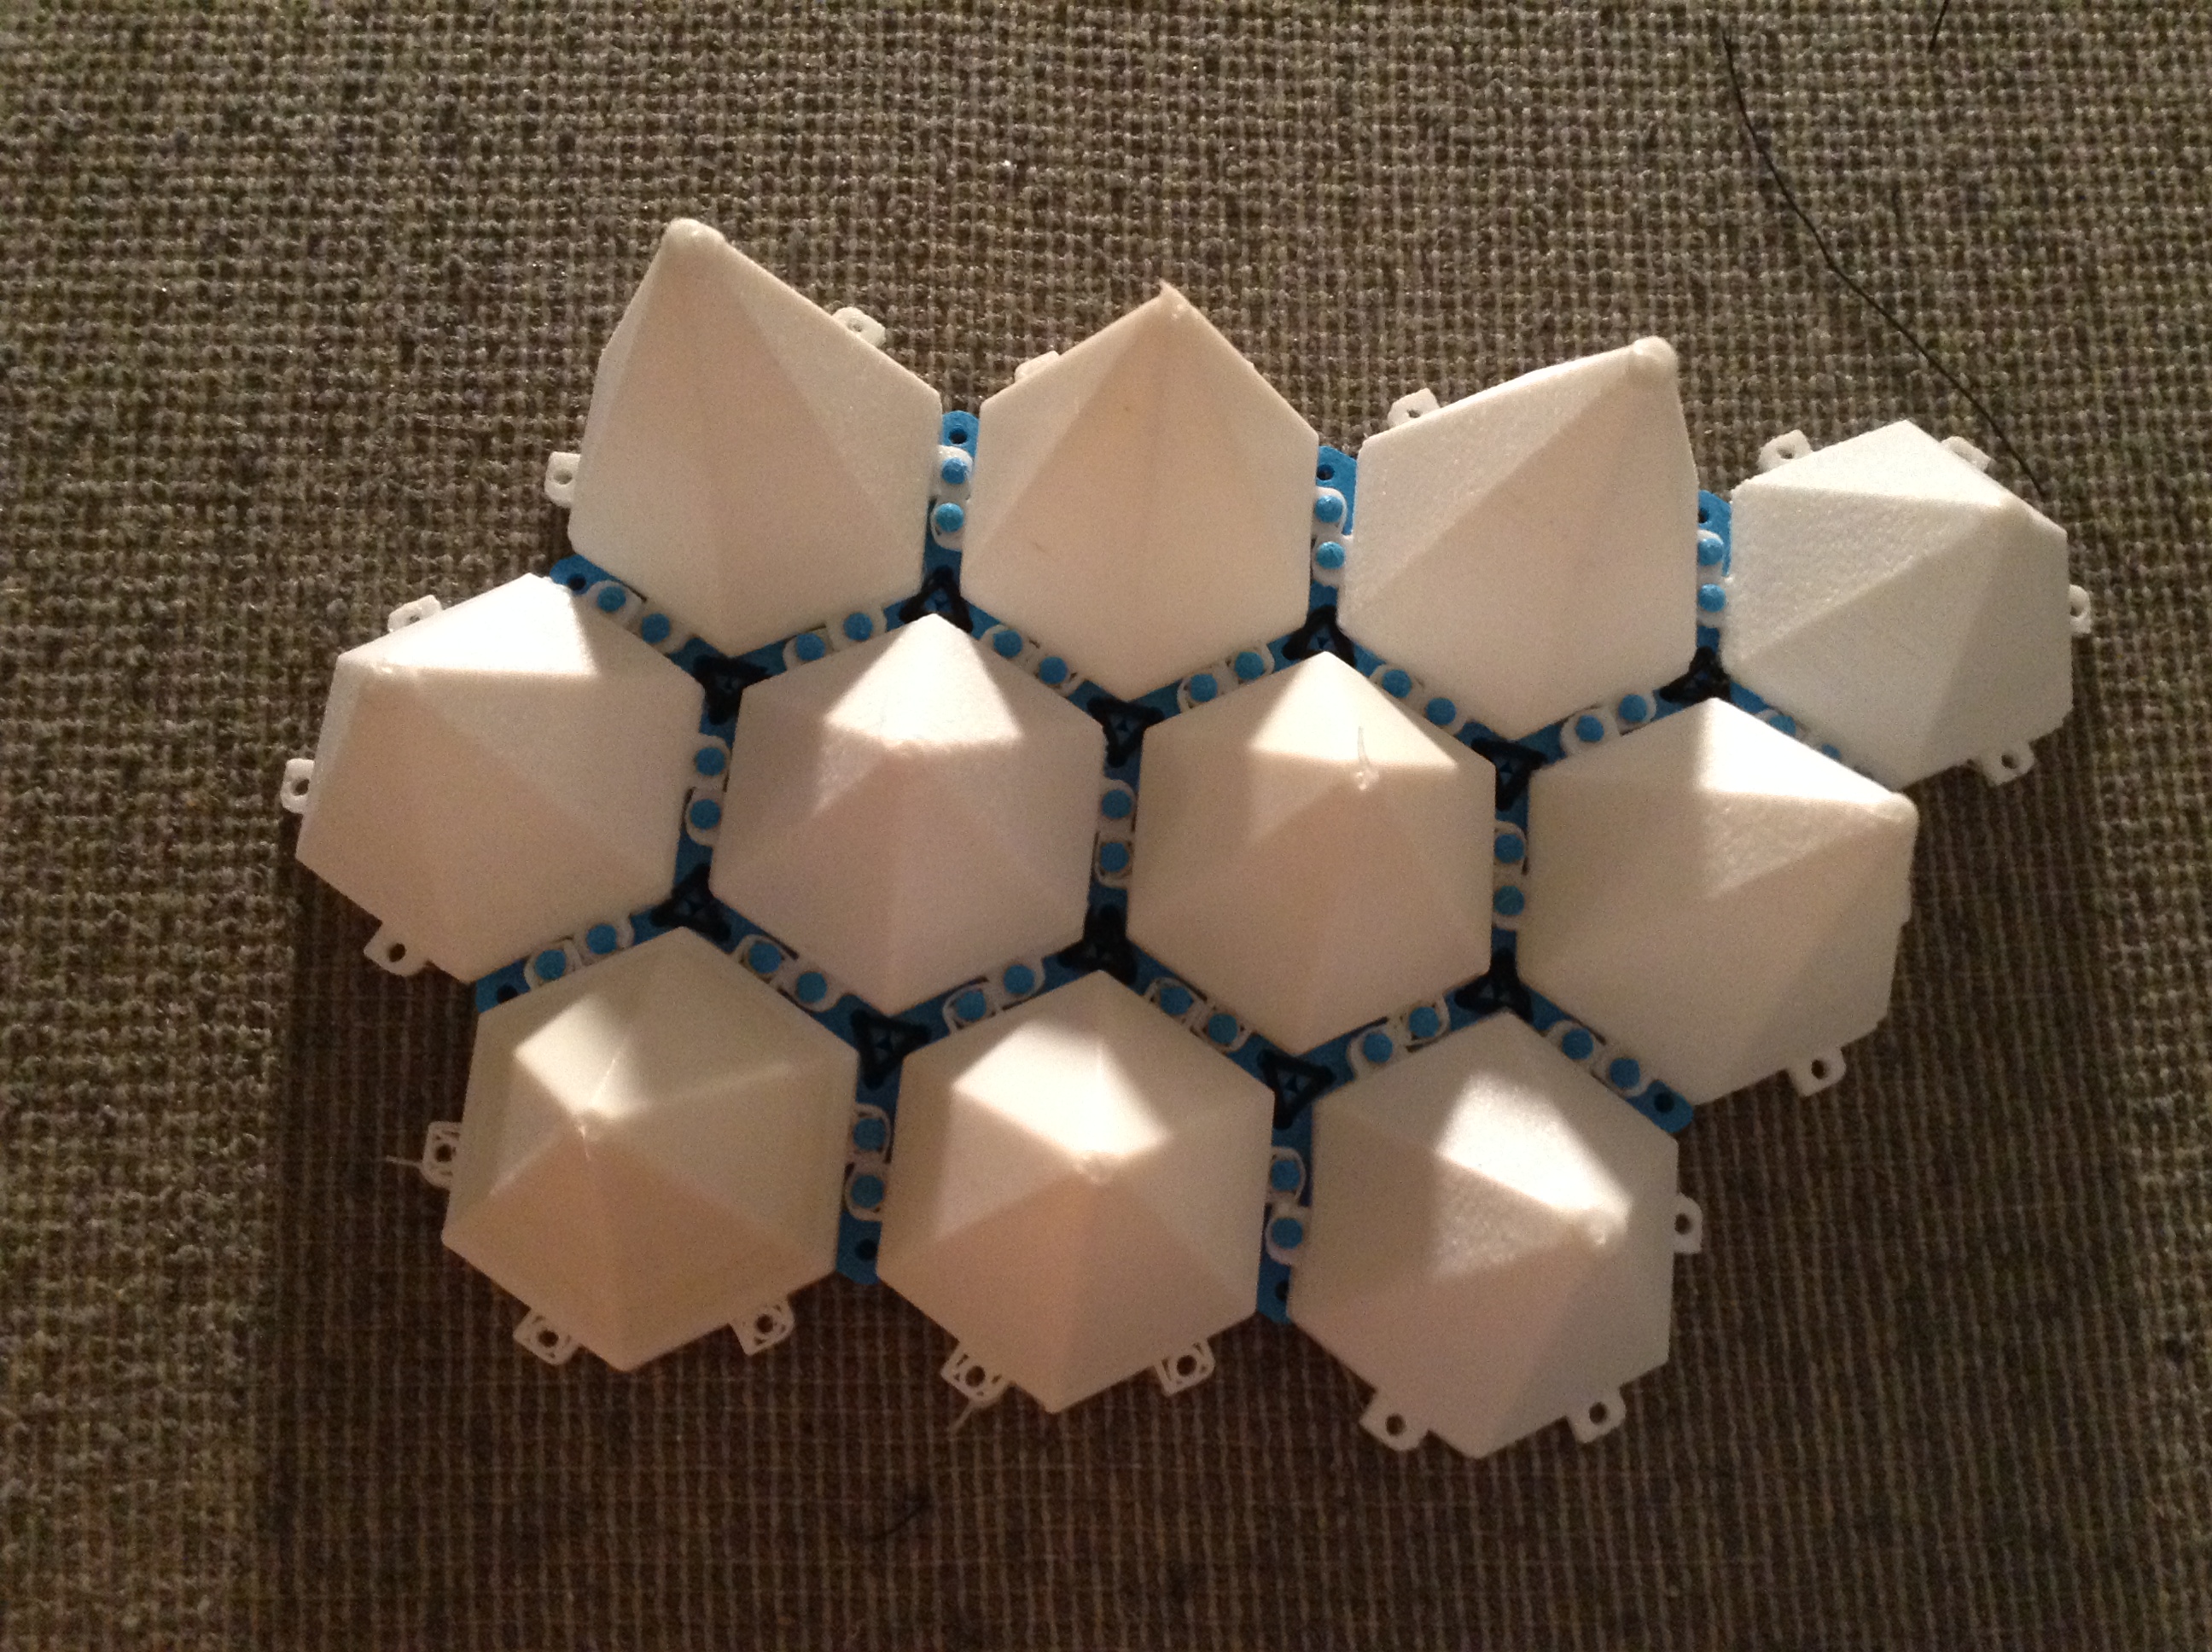
This project takes small forces from the hands of participants and scales them up, creating a stage where air, wind, fog, vibration can affect a crowd.  The project features wearable devices with embedded sensors which are worn by users who then use their muscles and body gestures to make the space "playable".    The goal is a supple, playful system that gives new powers to the wearer.   At the same time, small and large flying objects in the space are being used as a form of  visual aid to suggest that the "super power" or energy from the wearer are present -- forces which can be felt on the stage in form of a dramatic shake or gust of wind also made visual through unique forms that dance and animate. 

Some prototype testing can be viewed here:


Imprimiendo en 3D con NinjaFlex y Ultimaker 2

He estado imprimiendo por un largo periodo y los mejores ajustes de impresión hasta ahora son:

Print speed: 20
Printing Temperature: 220
Bed Temperature: 65

Retraction speed: 25
Retraction distance: 3

Travel speed: 100

También me di cuenta de que es mejor no colocar el rollo de filamento detras de la impresora sino que en un lugar más abajo, debido al roce el material no fluye muy bien a través del extruder. Por ahora lo tengo sobre un contenedor de plástico que encontré en la oficina.
No se ve muy profesional, pero funciona :)

Los resultados que he obtenido últimamente los pueden ver en las fotos siguientes:

Actualización:

Ya he estado imprimiendo por más tiempo y probando distintas configuraciones de impresión. Para modelos que tienen grandes superficies, el volumen interior es impreso con una grilla (a menos que lo impriman sólido), me he dado cuenta que es mejor bajar la velocidad de impresión justo en el layer en que la impresora comienza a cubrir la totalidad de la grilla para hacer la terminación.
Para esto utilizo un Plugin que viene incluido en el software Cura que se usa para generar los archivos que serán leídos por la impresora Ultimaker. El nombre del Plugin es "Tweak at Z" y nos da la posibilidad de cambiar los ajustes en un determinado layer. En este caso lo que hago es visualizar los layers cambiando la vista con el botón de visualización arriba a la derecha, ahi puedo ver exactamente en qué layer la impresora empezará a cubrir la grilla interior para hacer la terminación del objeto.
Las veces en que no utilizé este "truco" el objeto quedó con hoyos debido a que la velocidad de impresión que estoy utilizando es muy rápida como para extruir suficiente material y cubrir esas superficies que no tienen soporte alguno.
Luego de identificar el layer en que el modelo comienza a hacerse sólido completamente, utilizando el Plugin, le bajé la velocidad al 50%. Estoy usando una velocidad de impresión de 40mm/s, por lo tanto, la velocidad baja a 20mm/s cuando comienza a imprimir ese layer.

Pueden utilizar el mismo Plugin para subir la velocidad al 100% luego de que la impresora imprima un par de layers a velocidad lenta, asi no tienen que esperar tanto a que se termine de imprimir el modelo.

A continuación dos fotos, una donde imprimí uniformemente a 40mm/s y otra donde utilizé el Plugin.

izquierda: la misma velocidad de 40mm/s durante toda la impresiónderecha: Bajando la velocidad con el Plugin desde el layer 25 y volviéndola a su normalidad en el layer 28

izquierda: la misma velocidad de 40mm/s durante toda la impresión
derecha: Bajando la velocidad con el Plugin desde el layer 25 y volviéndola a su normalidad en el layer 28

Últimos ajustes que he utilizado con éxito: 

Layer Height: 0.1
Bottom / Top thickness: 0.3
Fill density: 20

Print speed: 40
Printing Temperature: 224
Bed Temperature: 65

Retraction speed: 45
Retraction distance: 4.5

Travel speed: 200
Bottom Layer Speed: 20

Algo del trabajo que estamos haciendo:
 

Nota: el post original de este tutorial esta en el link:
http://www.yesyesno.com/blog/2014/8/22/printing-ninja-flex-on-ultimaker-2

design iterations - 3D printed wearable piece

This prototype is composed of two parts, one printed with ninjaflex and another one with PLA (blue).
The rigid piece is the piece that connects the spikes and it's sewn to fabric, on that way we can detach the spikes to place LED's or to exchange different shapes. You can see in the photos bellow how flexible is the surface that we can create with different configurations of these spikes.

And this is how it looks when they are attached to the fabric arm band.

Printing with Ninja Flex filament using Ultimaker 2

We are having improvements and the best settings so far are:

Print speed: 20
Printing Temperature: 220
Bed Temperature: 65

Retraction speed: 25
Retraction distance: 3

Travel speed: 100


Also the best way to feed the extruder is from the bottom, maybe now it doesn't look so fancy, but it's working :)
You can see the last results on the images bellow:

updates:


I have been using ninjaflex for a while and trying more different settings, for models that have large surfaces and the volume is made with an interior grid, I have to slow down the speed with the pugin "Tweak at Z" at least 3 layers otherwise you will be able to see holes that weren't covered totally.
After to identify the layer (layer view) when the model goes from the grid to a solid surface I slow down the speed to 50%. The faster speed that I have tried and works pretty well is 40mm/s, so it will be 20mm/s to have a smooth final surface.
You can appreciate the difference in the image below:

left: same speed the whole processright: slowing down the speed from layer 25 to 28

left: same speed the whole process
right: slowing down the speed from layer 25 to 28

Last settings used successfully: 

Layer Height: 0.1
Bottom / Top thickness: 0.3
Fill density: 20

Print speed: 40
Printing Temperature: 224
Bed Temperature: 65

Retraction speed: 45
Retraction distance: 4.5

Travel speed: 200
Bottom Layer Speed: 20


work in progress....

photo 1.JPG