

Noritake VFD CU-Y series
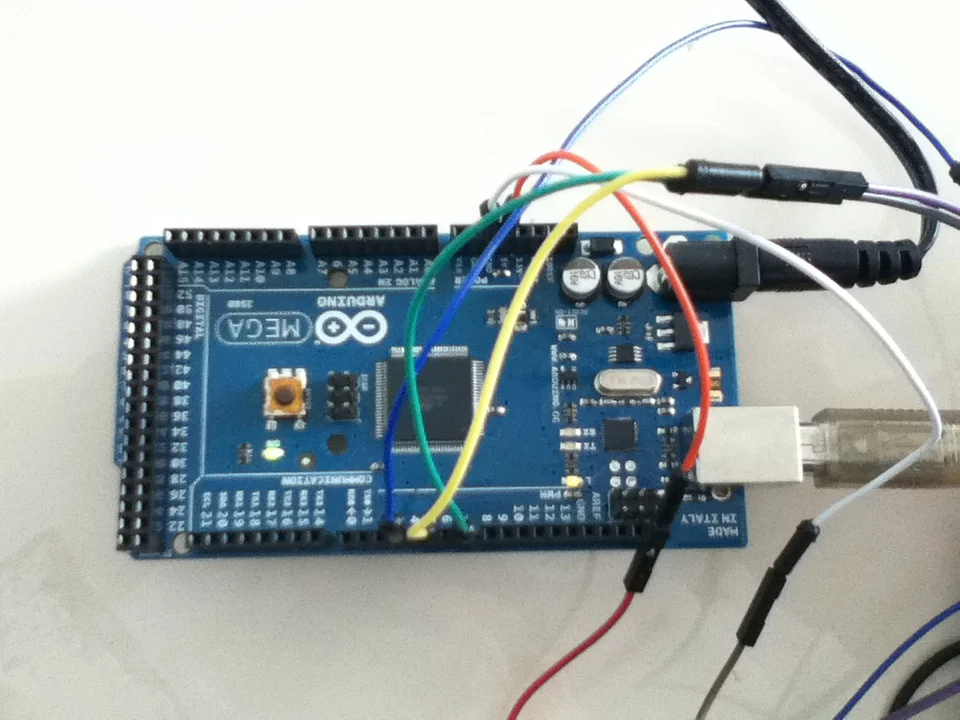
I followed the instructions from instructables to hook the display up to an Arduino Mega.
http://www.instructables.com/id/Arduino-and-the-Noritake-24x6-VFD-Module-Vacuum-Fl/
Pin 1 VCC to 5 Volts
Pin 2 SIN to Digital 3
Pin 3 GND to GND
Pin 4 SBUSY to Digital 5
Pin 5 NC not connected
Pin 6 RESET to Digital 7
A very important thing: I am using a power supply otherwise the display doesn't work.
The power supply I am using is 7.5V and 1.06 A
code from http://www.noritake-elec.com/arduino-code-library-quick-start-guide.php :
#include <CUY_Interface.h>
#include <CUY_Parallel.h>
#include <CUY_Serial_Async.h>
#include <CUY_Serial_Sync.h>
#include <Noritake_VFD_CUY.h>

// ****************************************************
// ****************************************************
// Uncomment one of the communication interfaces below.
//
CUY_Serial_Async interface(38400,3, 5, 7); // SIN,BUSY,RESET
//CUY_Serial_Sync interface(3, 5, 6, 7); // SIN,BUSY,SCK,RESET
//CUY_Parallel interface(8,9,10, 0,1,2,3,4,5,6,7); // BUSY,RESET,WR,D0-D7
//
// ****************************************************
// ****************************************************

Noritake_VFD_CUY vfd;

void setup() {
_delay_ms(500);// wait for device to power up
vfd.begin(20, 2);// 20x2 character module
vfd.interface(interface); // select which interface to use
// Enter the model class
// E.g. Y1A for CU24043-Y1A
// Applicable model classes:
// Y1A
// YX1A
// Y100
// YX100
vfd.isModelClass(Y100);
vfd.CUY_init();// initialize module
vfd.print("Hello Zach!"); // print Noritake on the first line
}

void loop() {
}


LCD display on Arduino
Newhaven display NHD-0420DZW-AY5
code from http://www.instructables.com/id/LCD-dispaly-on-Arduino-UNO/ :
// include the library code:
#include <LiquidCrystal.h>

// initialize the library with the numbers of the interface pins
LiquidCrystal lcd(12, 11, 5, 4, 3, 2);

void setup() {
// set up the LCD's number of columns and rows:
lcd.begin(16, 2);
// Print a message to the LCD.
lcd.print("hello, Chile!");
}

void loop() {
// set the cursor to column 0, line 1
// (note: line 1 is the second row, since counting begins with 0):
lcd.setCursor(0, 1);
// print the number of seconds since reset:
lcd.print(millis()/1000);
}


winstar oled display with seetron module
Hello, World!
arduino code from http://seetrontech.blogspot.com/2011/12/arduino-hello-world-for-bpi-216-serial.html :
/*This program uses the updated SoftwareSerial distributed in v1.0 of
the Arduino software. Users of earlier versions must download
NewSoftSerial. */

#include <SoftwareSerial.h>

#define rxPin 255 // Not used, so set to invalid pin #
#define txPin 3 // Connect BPI/BPK's SER input to this pin.
#define inverted 1 // In setup, 1=inverted, 0=noninverted

const char clearScreen[ ] = {
254,1,254,128,0};
const char message[ ] = "Hello World!" ;

/*
Set up a new serial output using the pin definitions above. Note the
argument "inverted," which instructs SoftwareSerial to output BPI/BPK-
compatible inverted-TTL serial (like RS-232, but without the +/-
voltage swing).*/

SoftwareSerial mySerial =SoftwareSerial(rxPin, txPin, inverted);

void setup(){
// define pin mode for tx:
digitalWrite(txPin, LOW); // Stop bit state for inverted serial
pinMode(txPin, OUTPUT);
mySerial.begin(9600);// Set the data rate
delay(10);// wait (may not be needed w/ Arduino v1.0)
mySerial.print(clearScreen);
mySerial.print(message);
}

void loop() {
// ...
}

Arduino Day 2014 at ITP / NYU

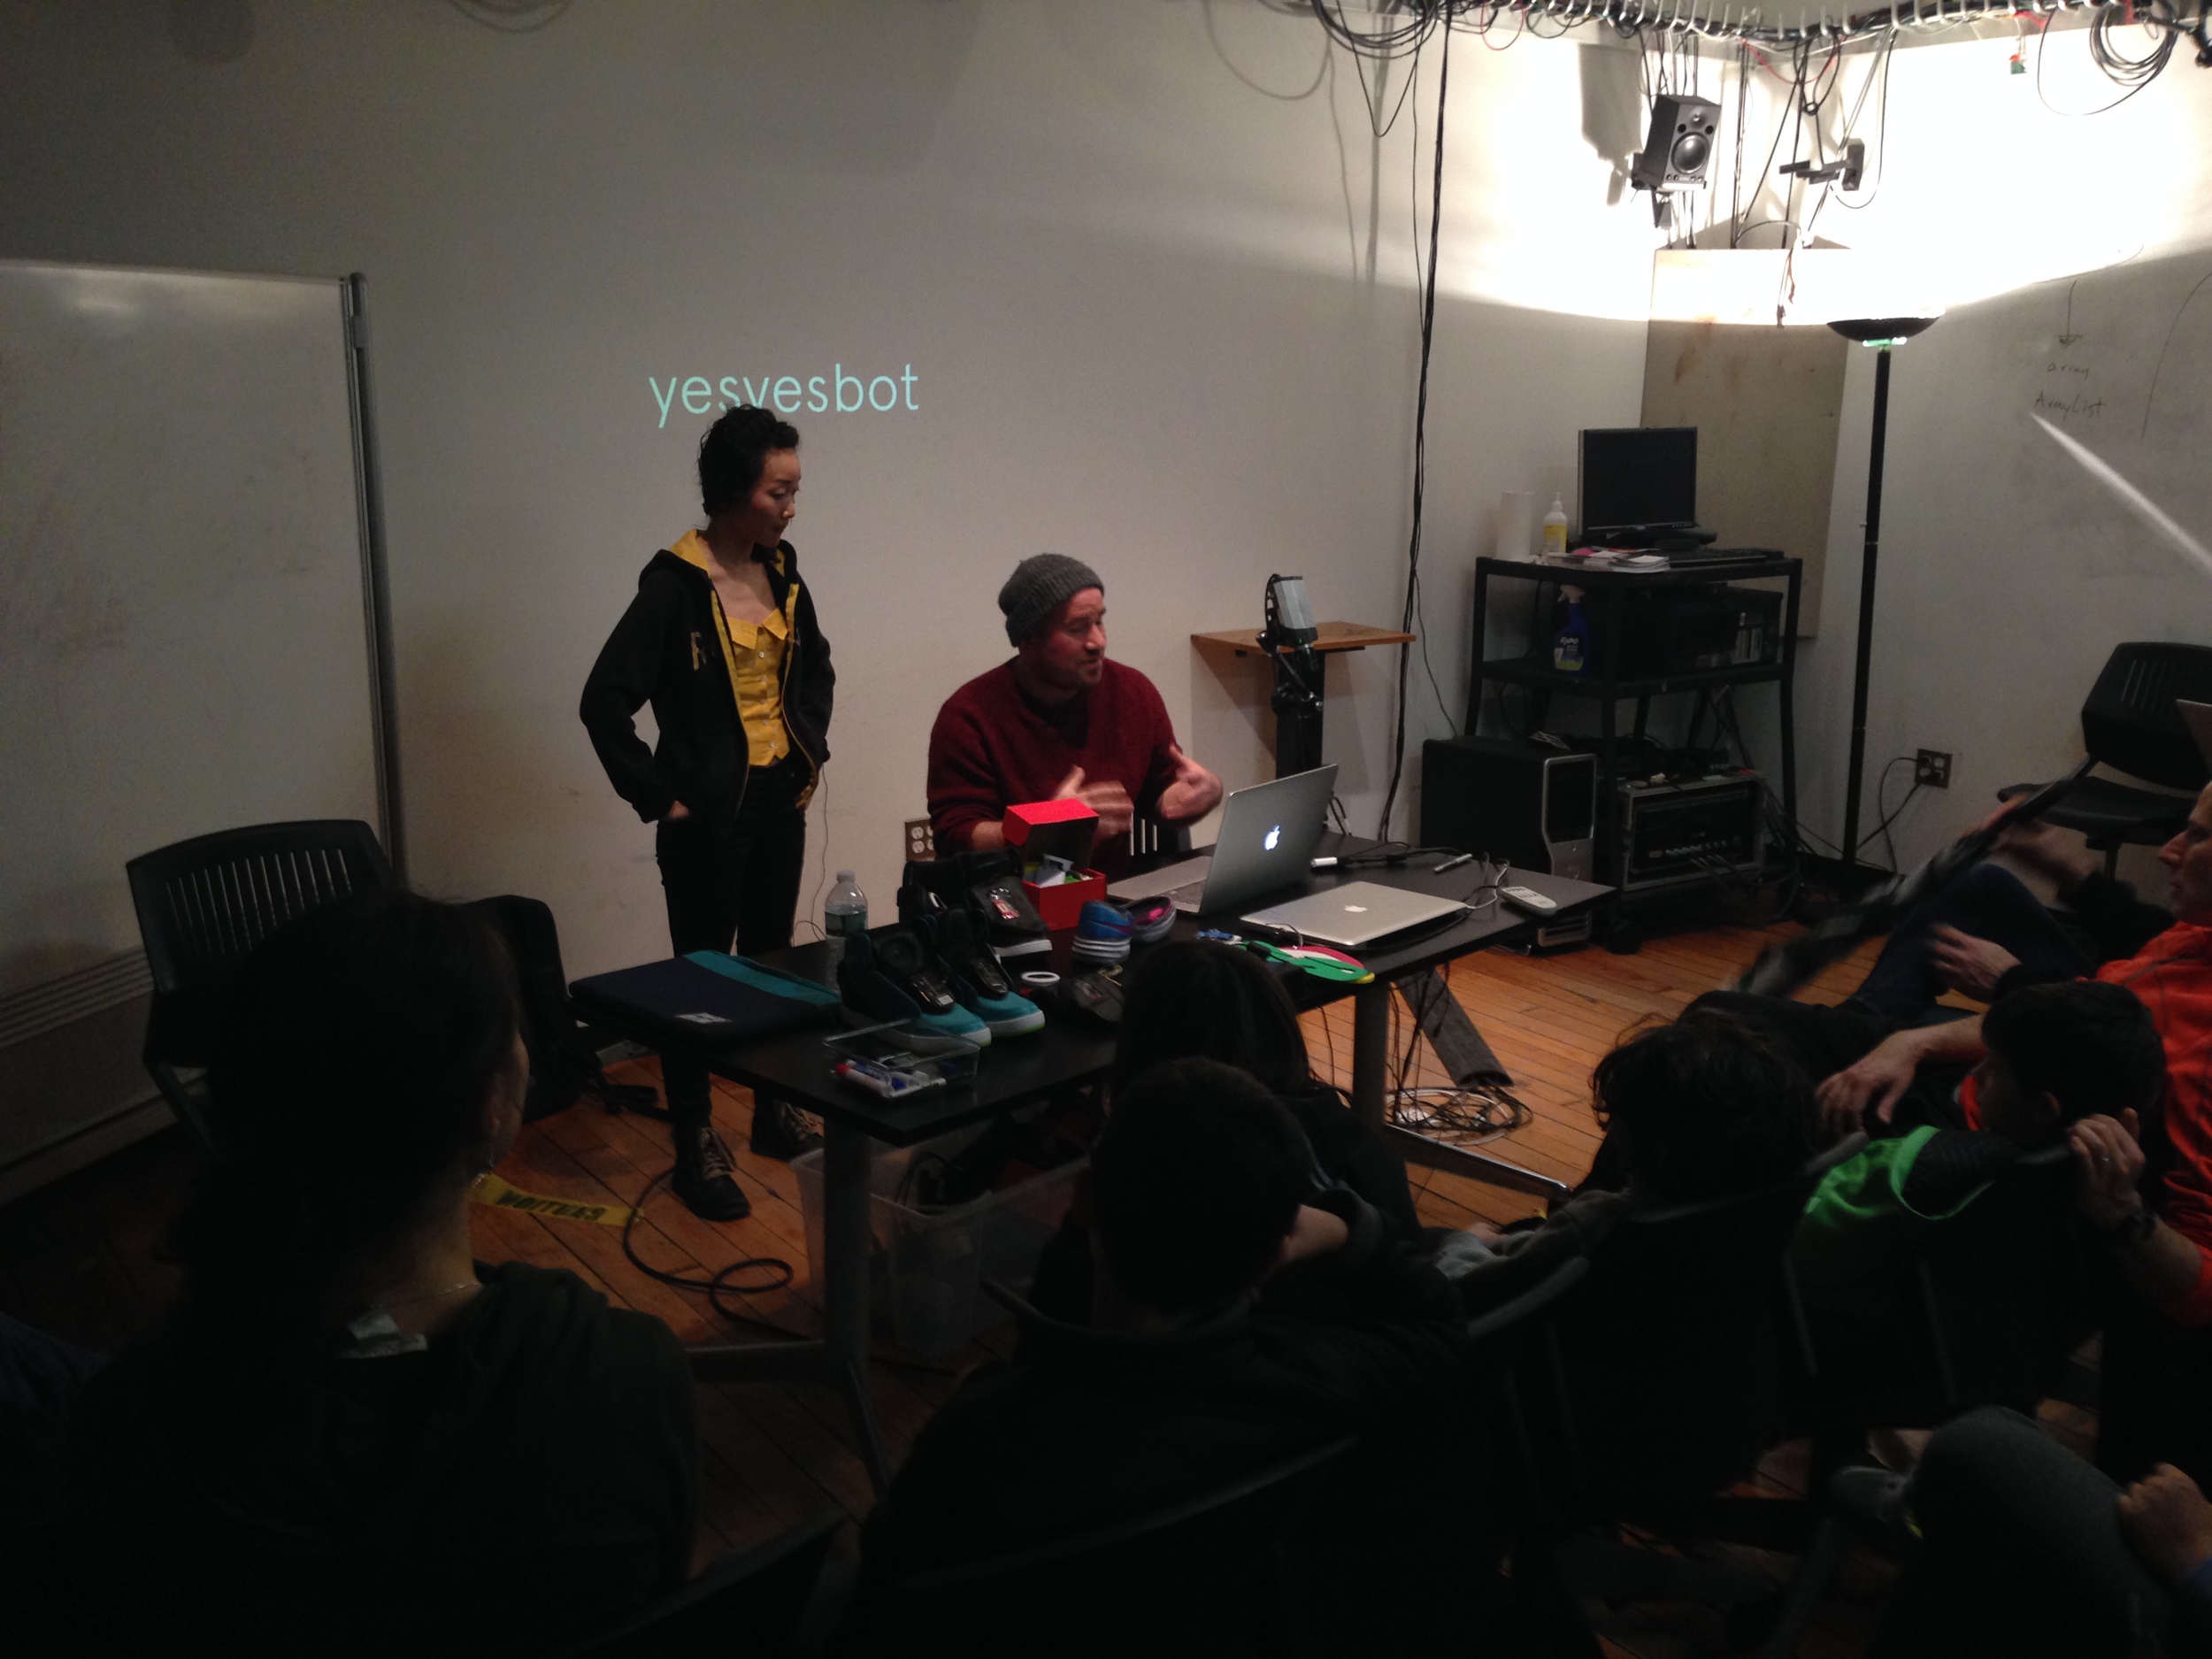
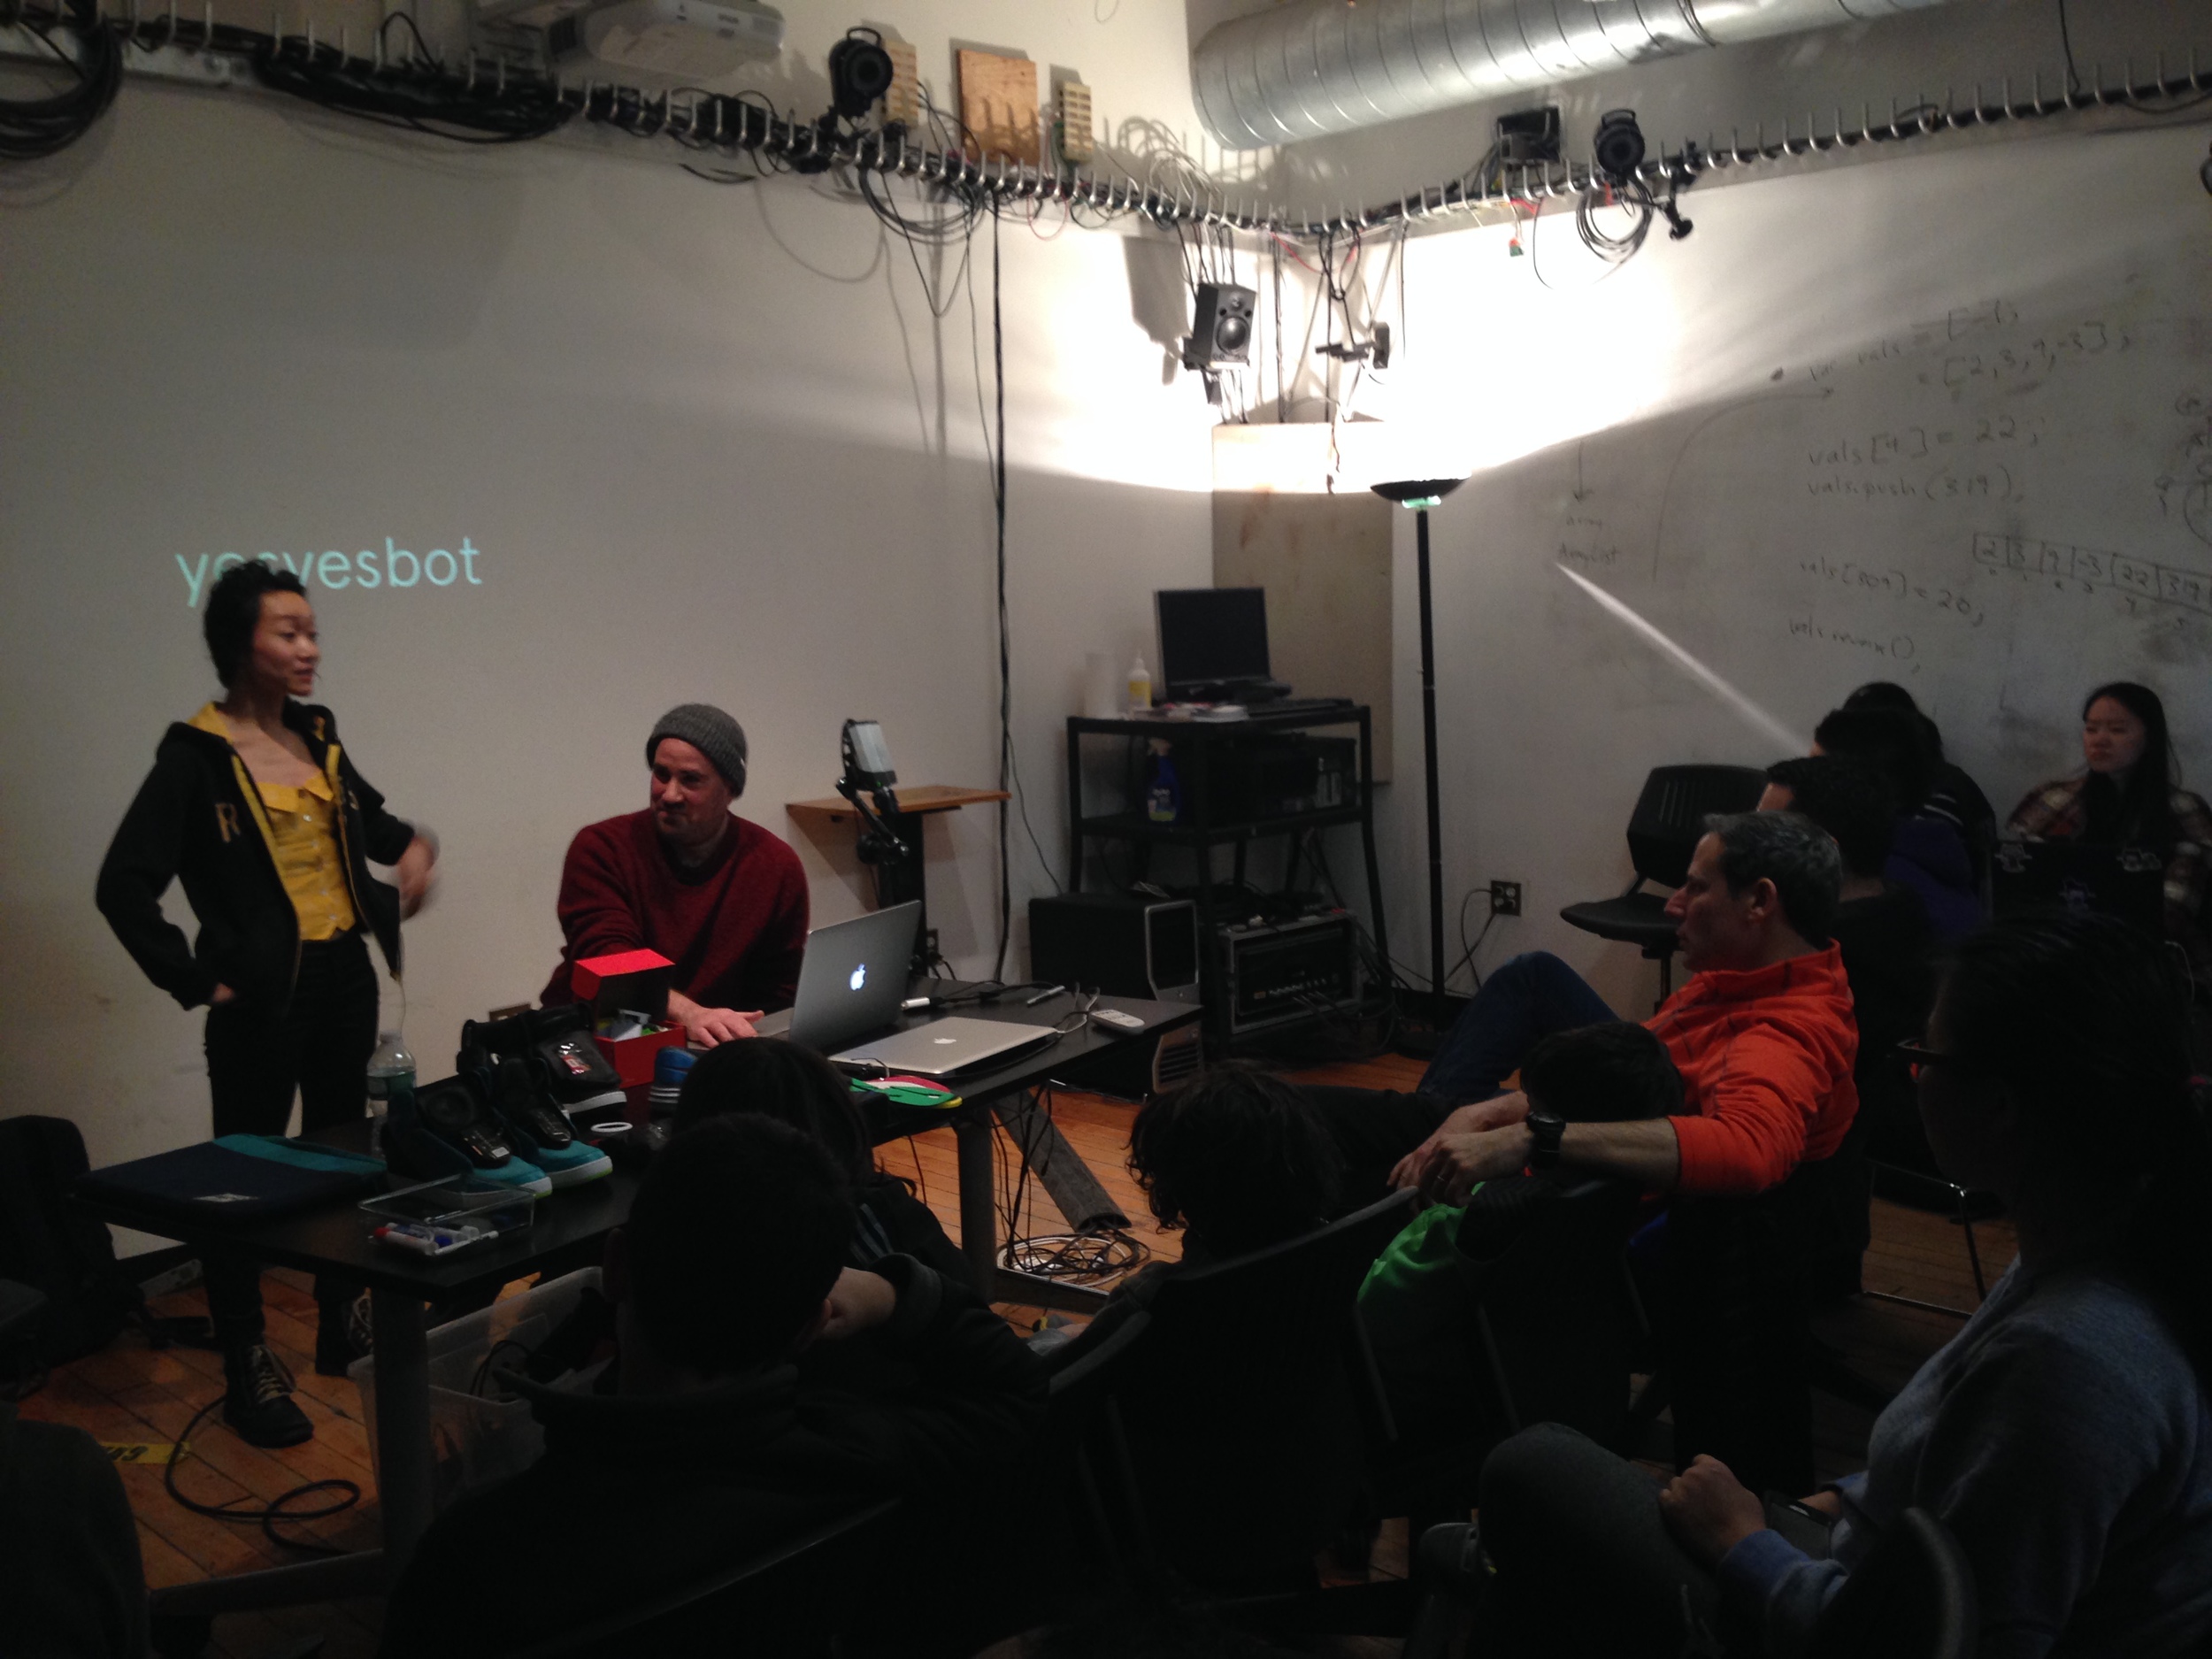
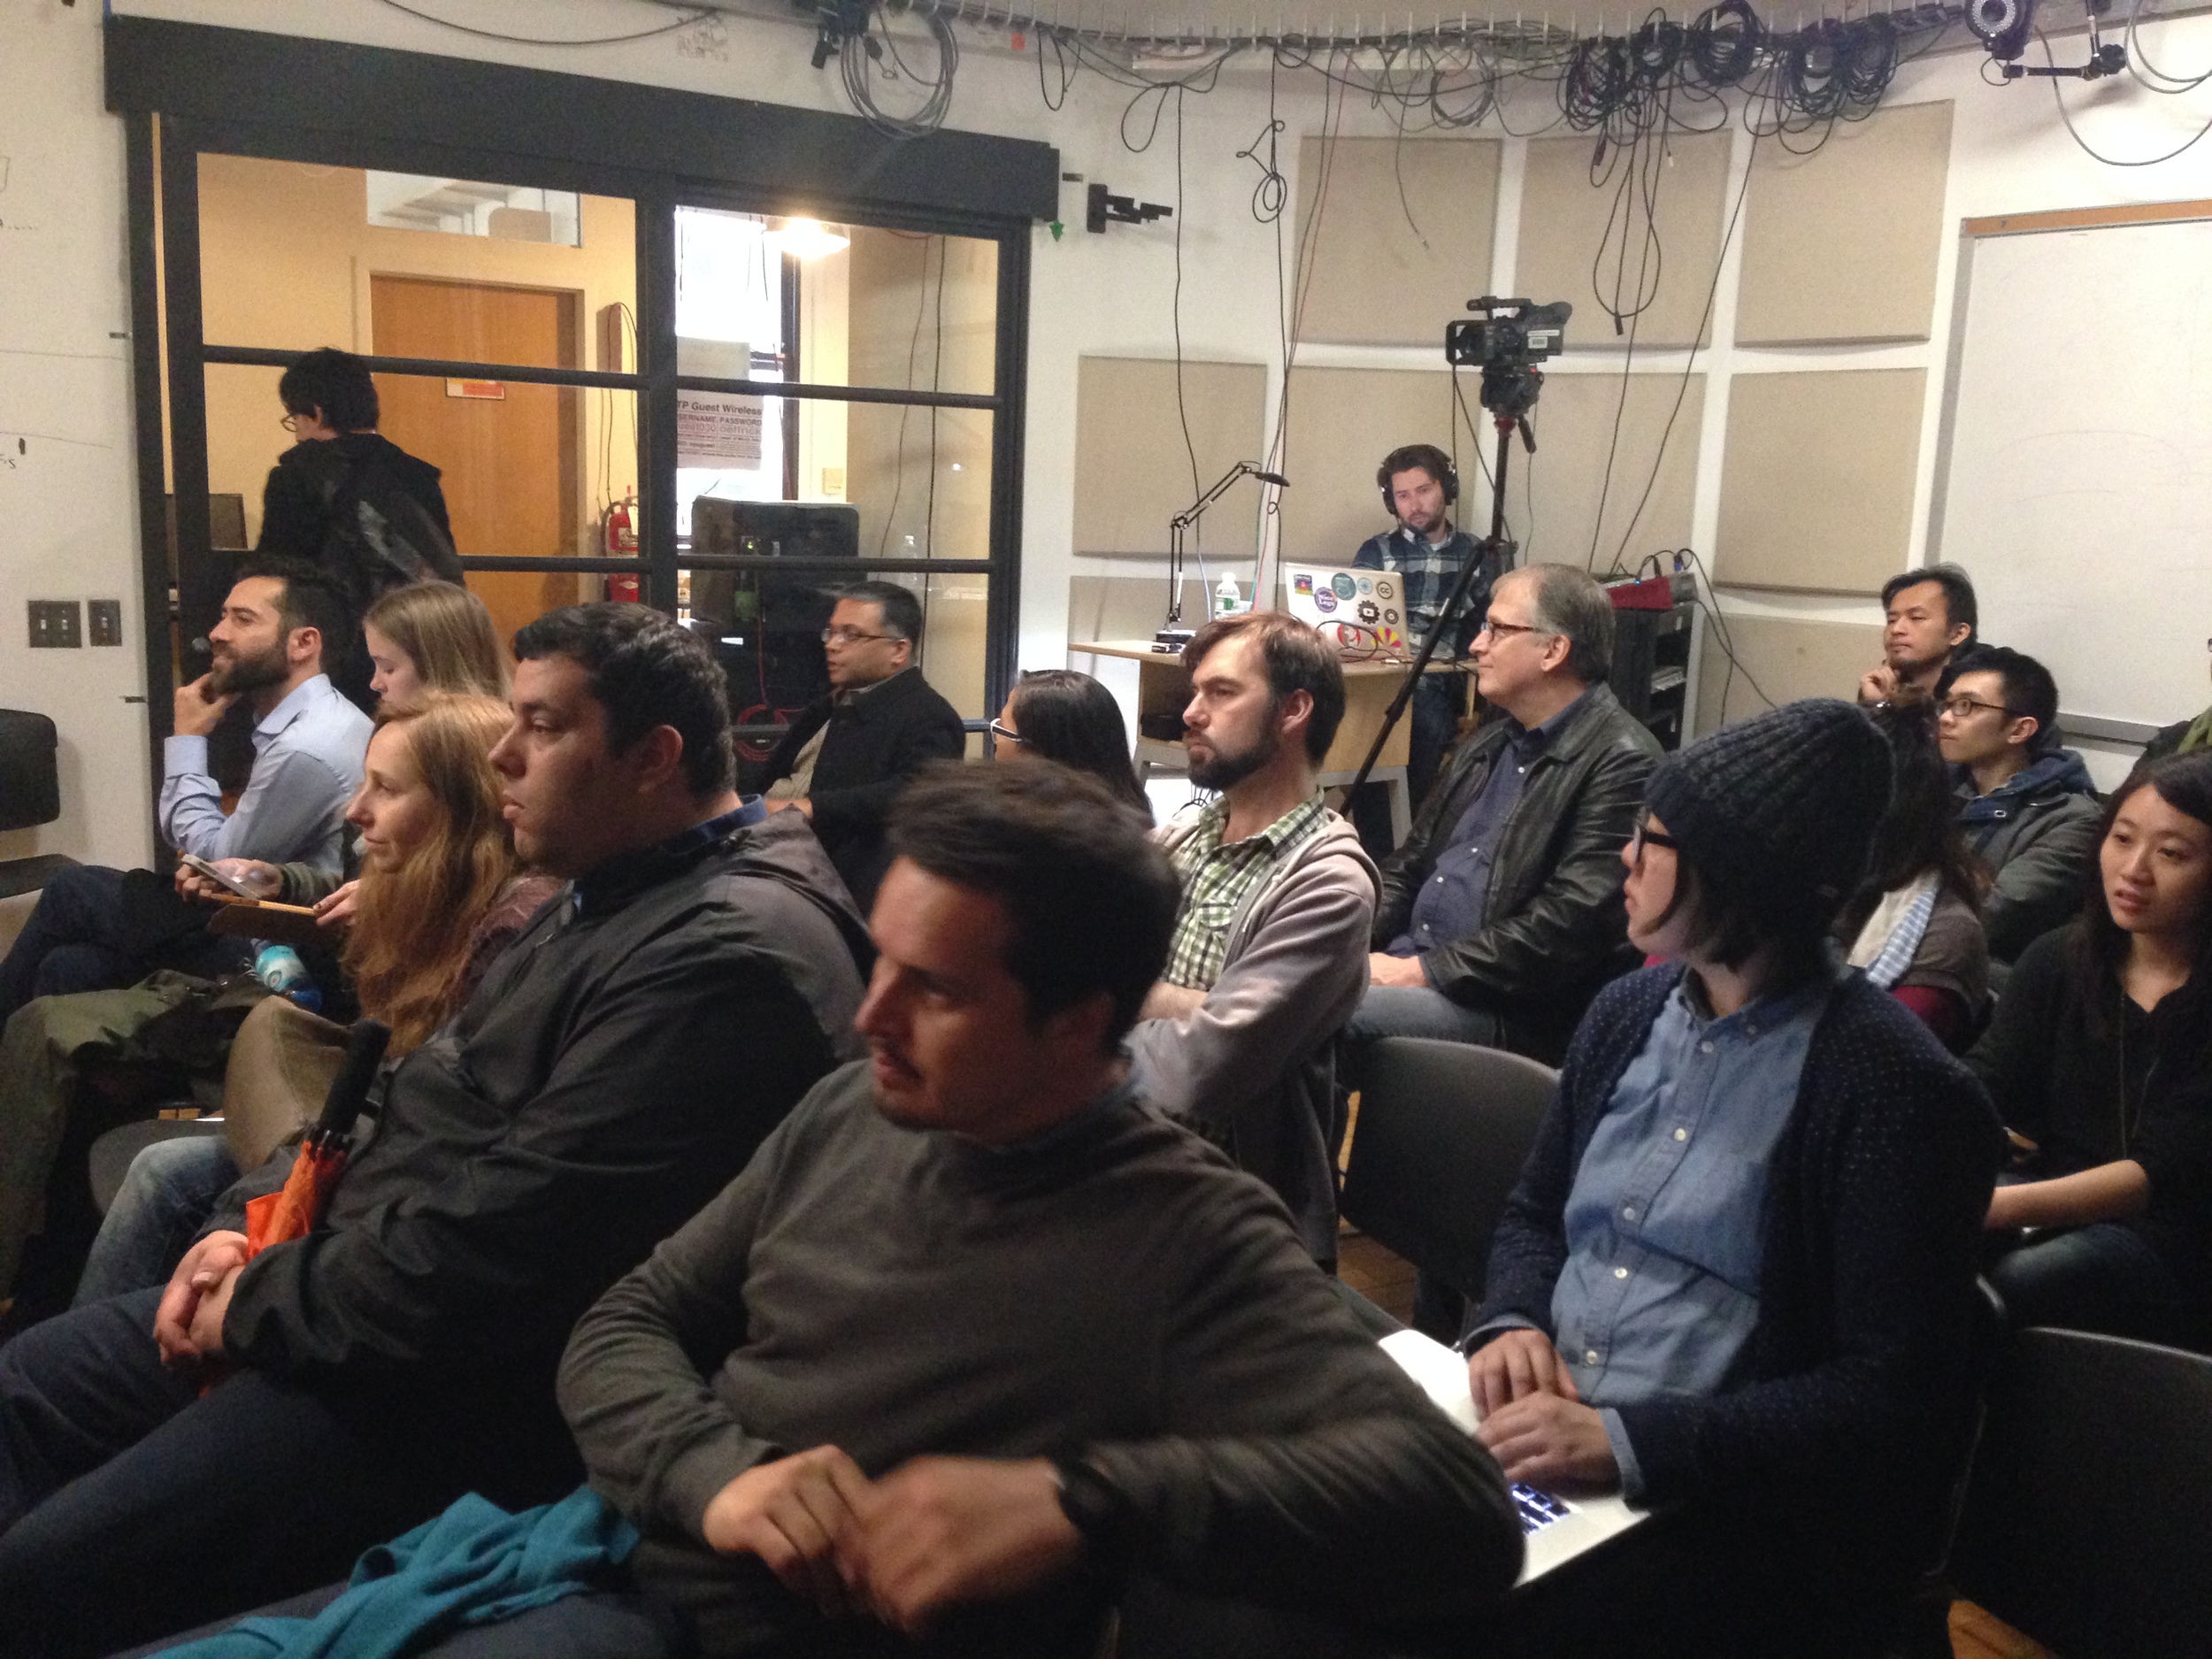


One day in the studio
muscle sensor is quite fun

